Edit Photos Like a Pro Lightroom Photoshop 2025
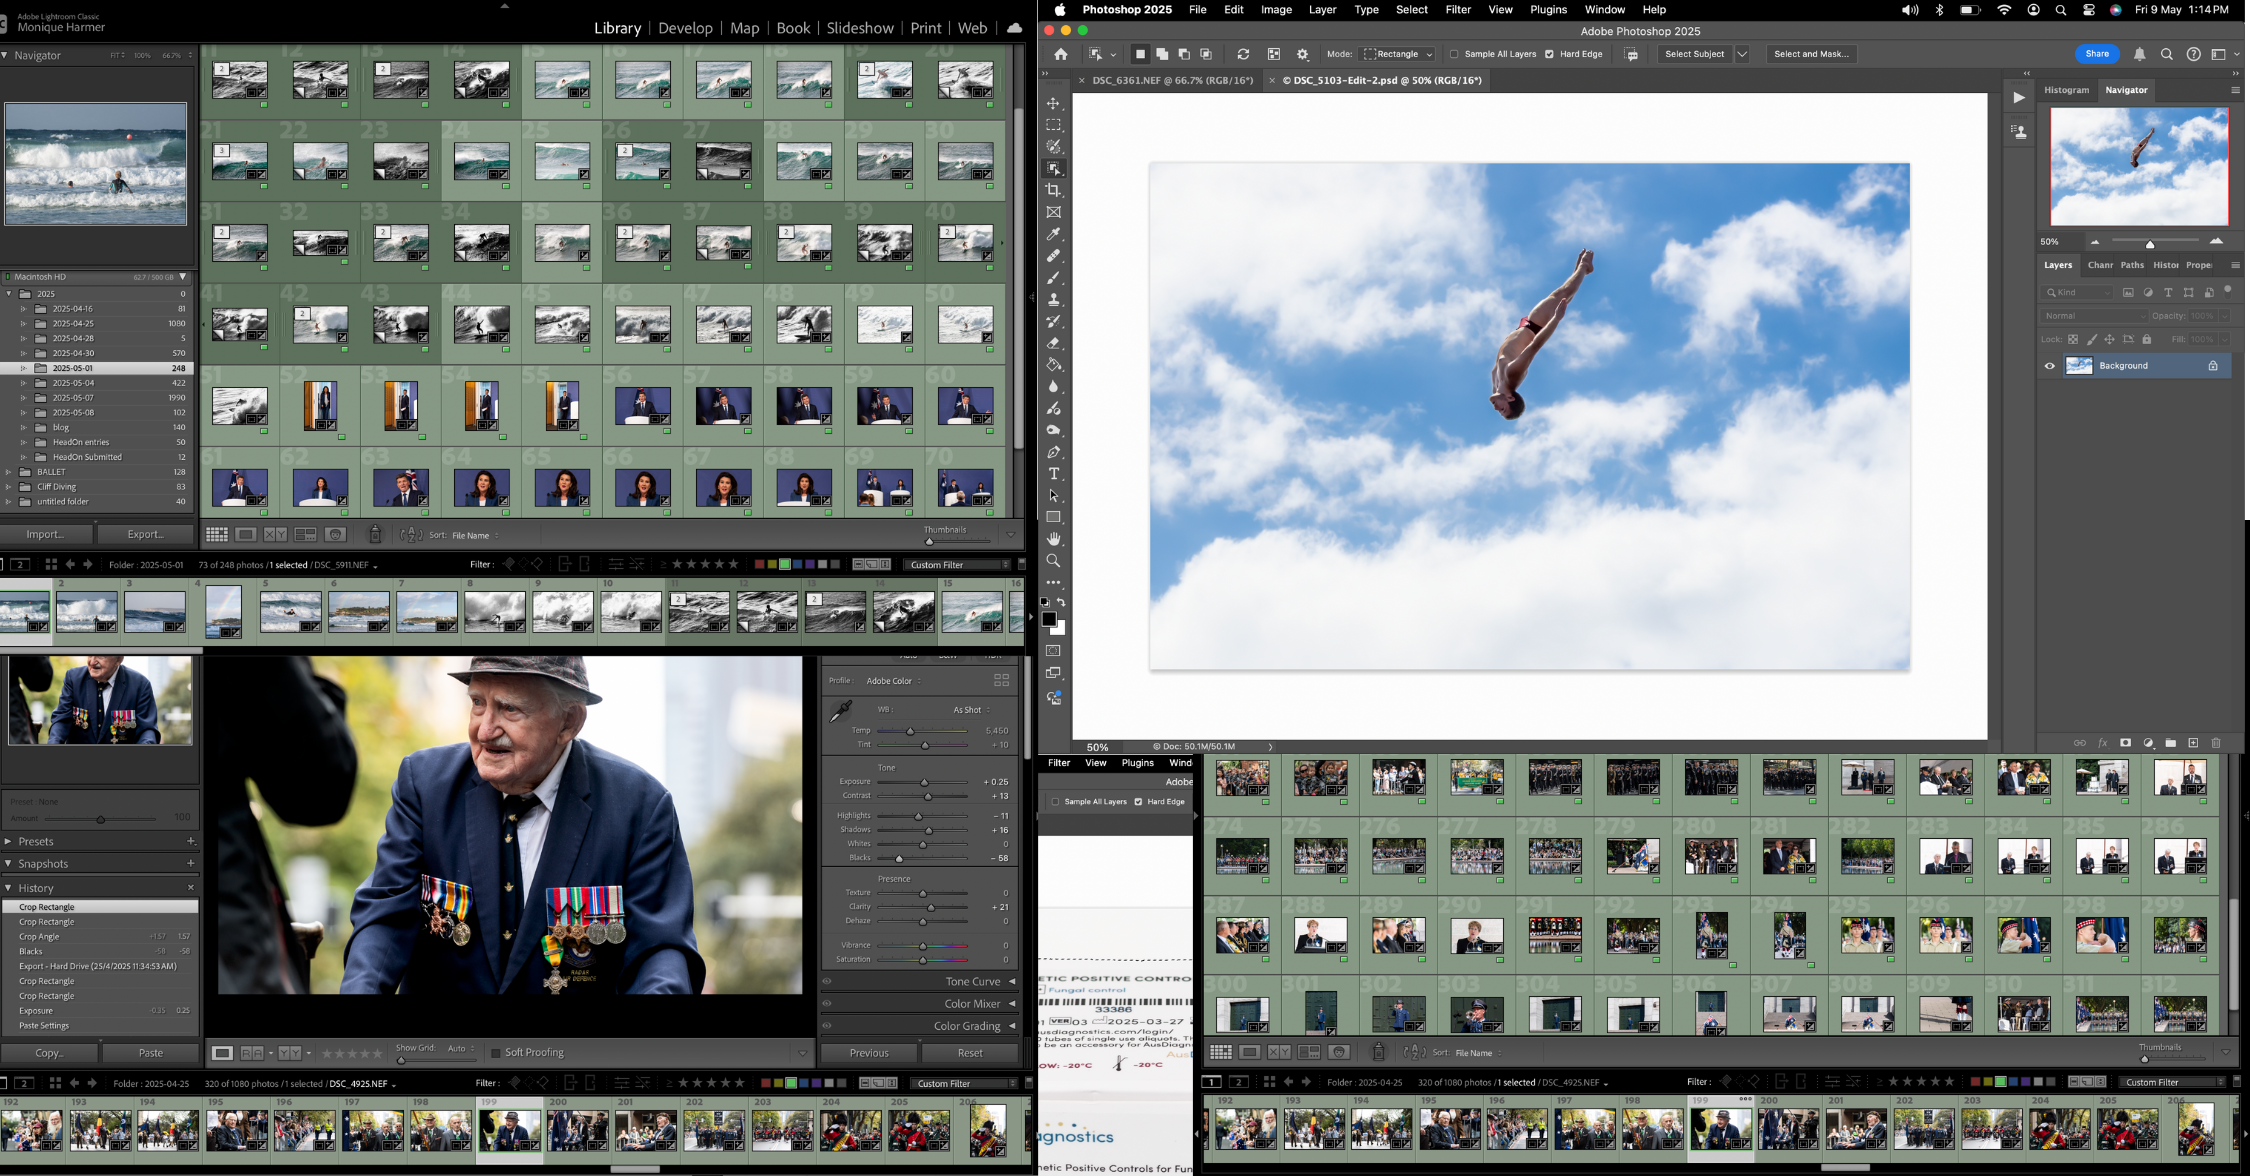
Mastering Creative Control📸 How to Edit Photos Like a Pro in Lightroom & Photoshop (2025 Creative Photographer’s Guide) How do


Mastering Creative Control📸 How to Edit Photos Like a Pro in Lightroom & Photoshop (2025 Creative Photographer’s Guide) How do
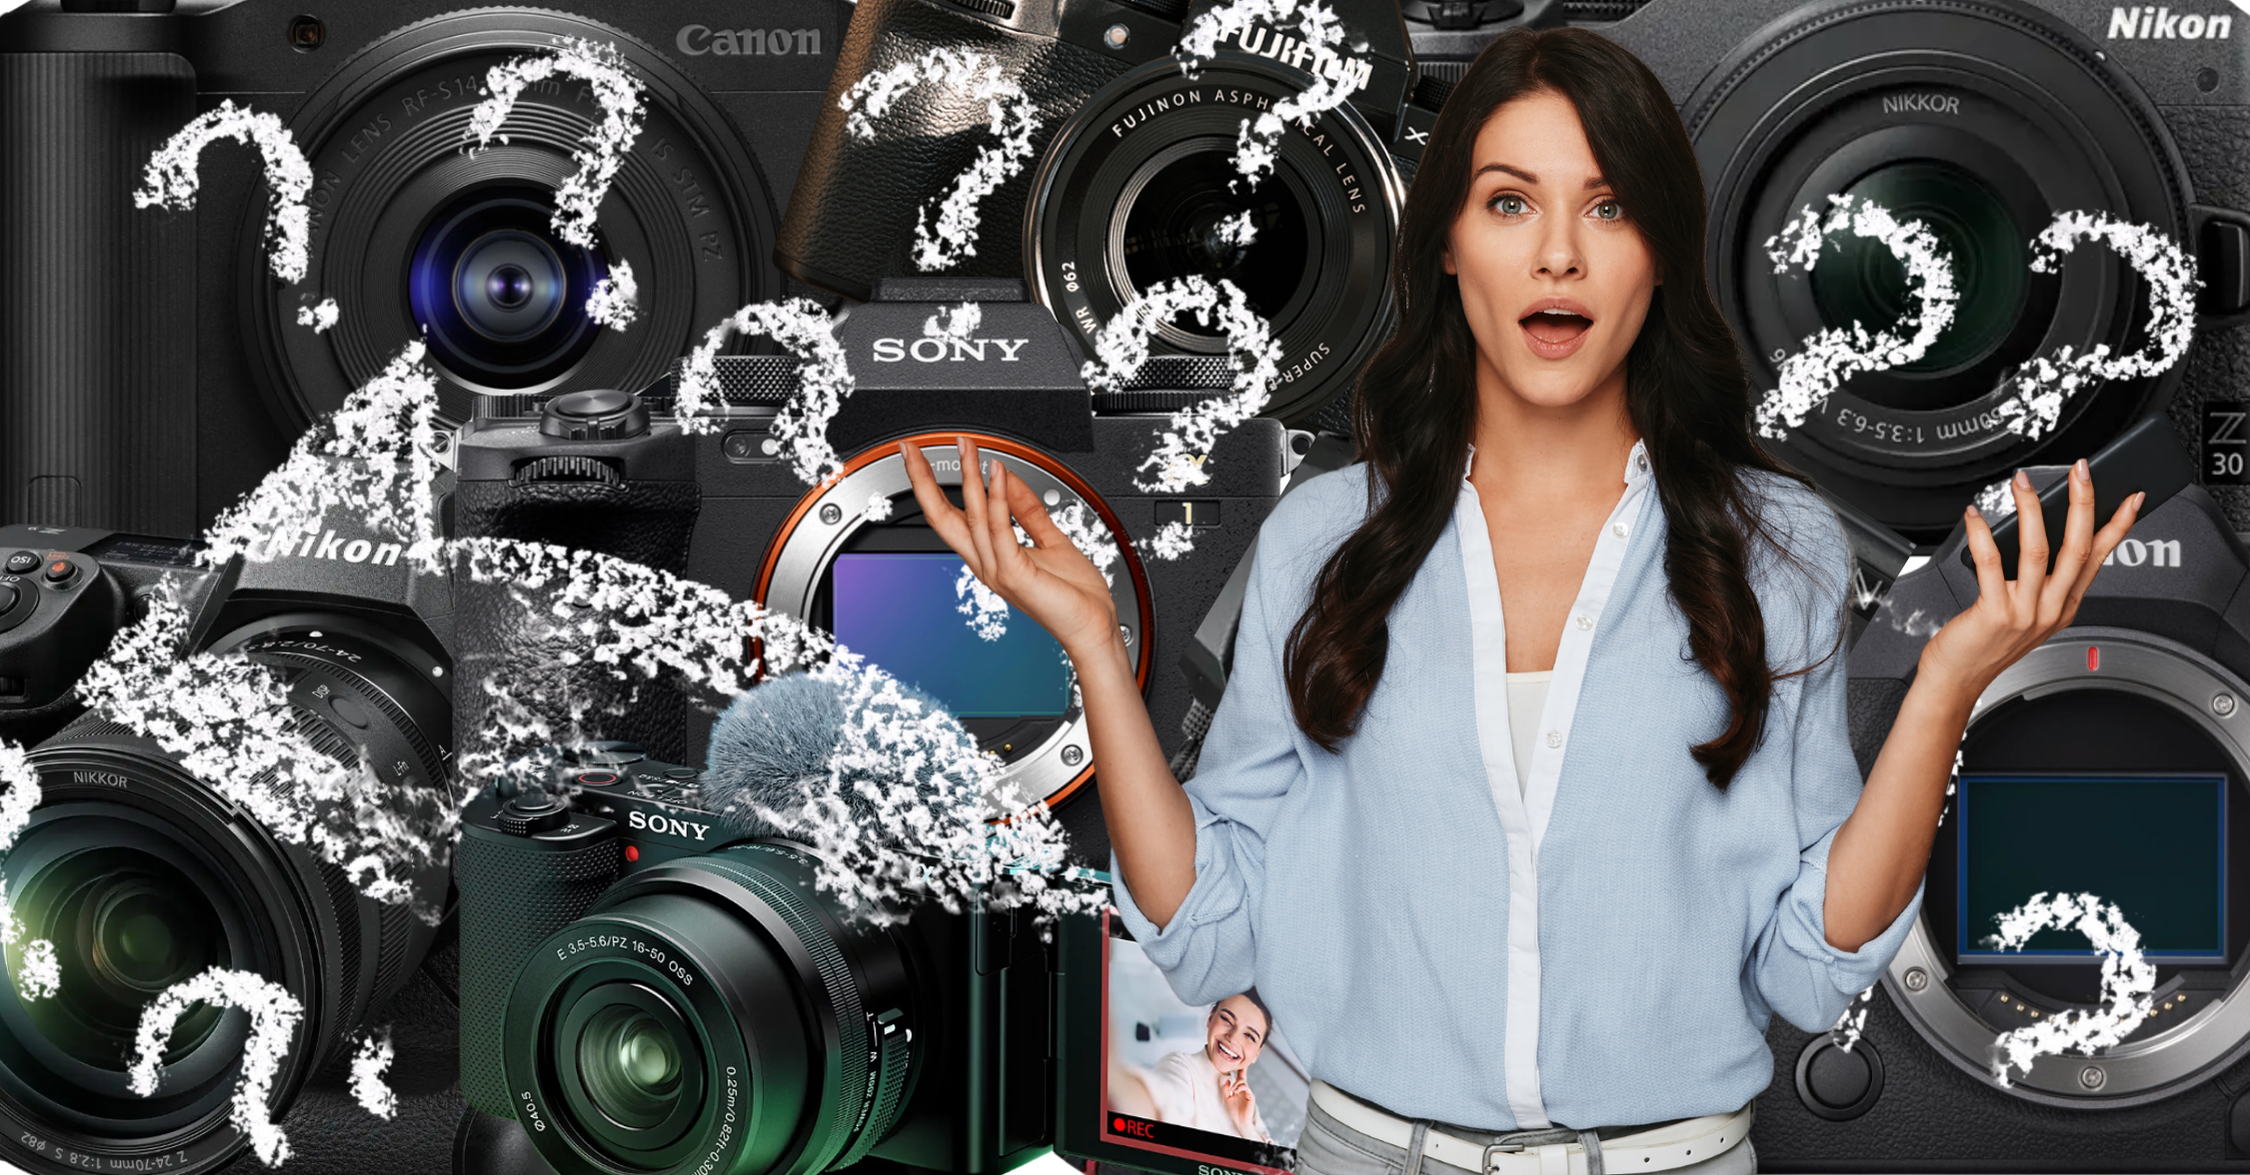
DSLR vs. Mirrorless in 2025: Which Should You Choose and Why It Matters In the fast-evolving world of photography, choosing
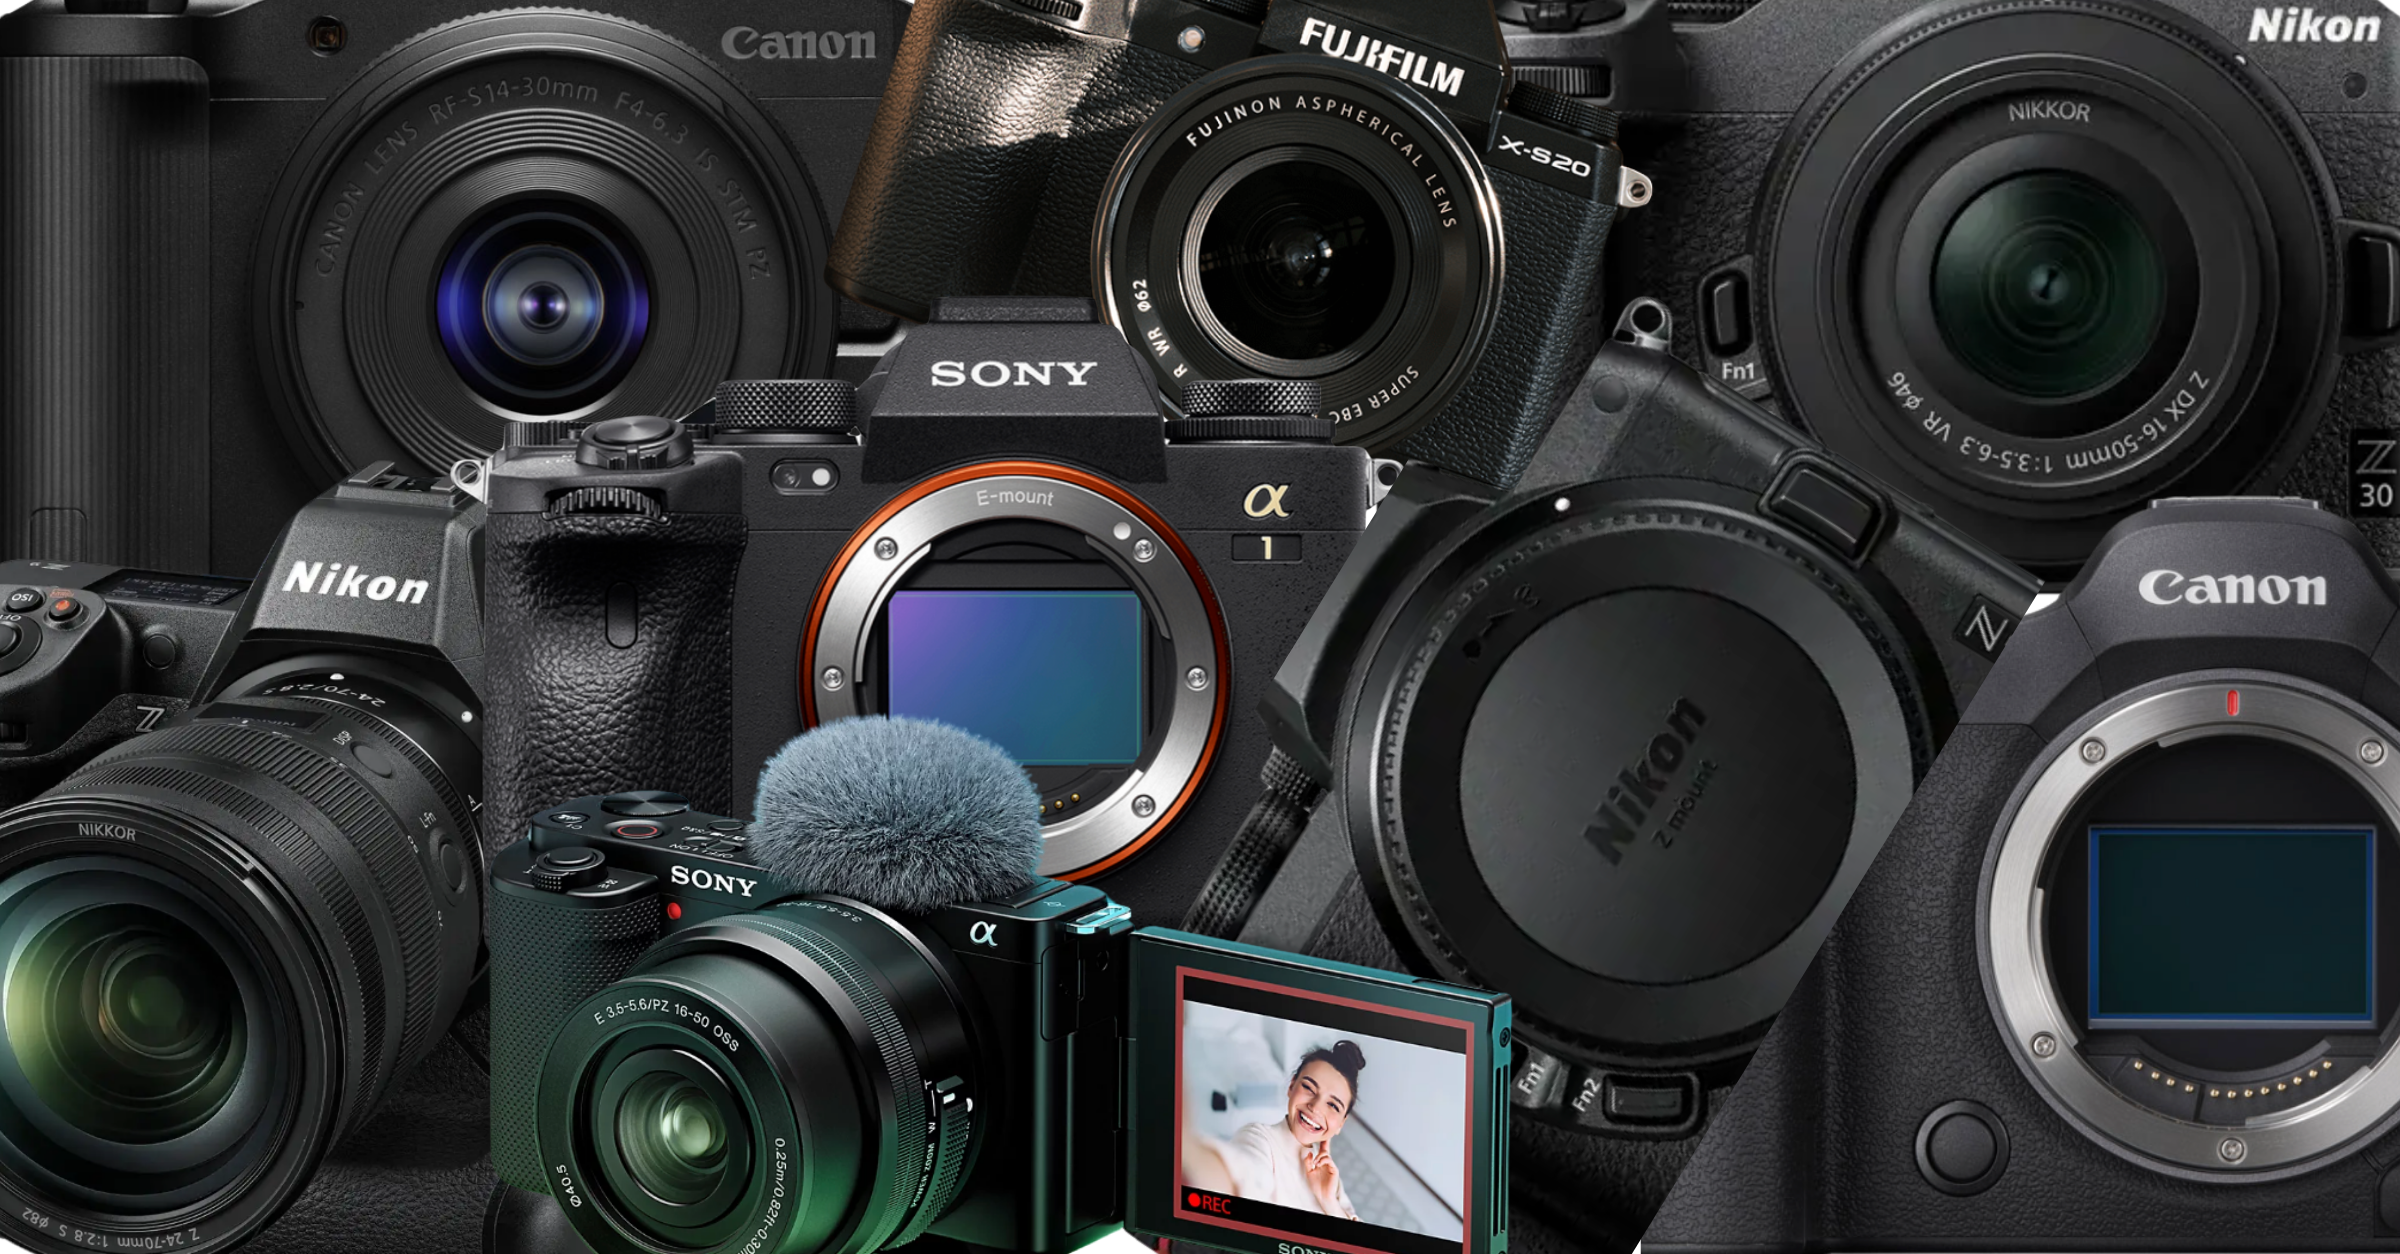
🔹 Best Cameras for Beginners (2025) 1. Canon EOS R50 Why: Compact, lightweight mirrorless with strong autofocus and image quality.
Mastering Low-Light Photography: Best Camera Settings With and Without Flash Low-light photography can be a creative playground or a technical
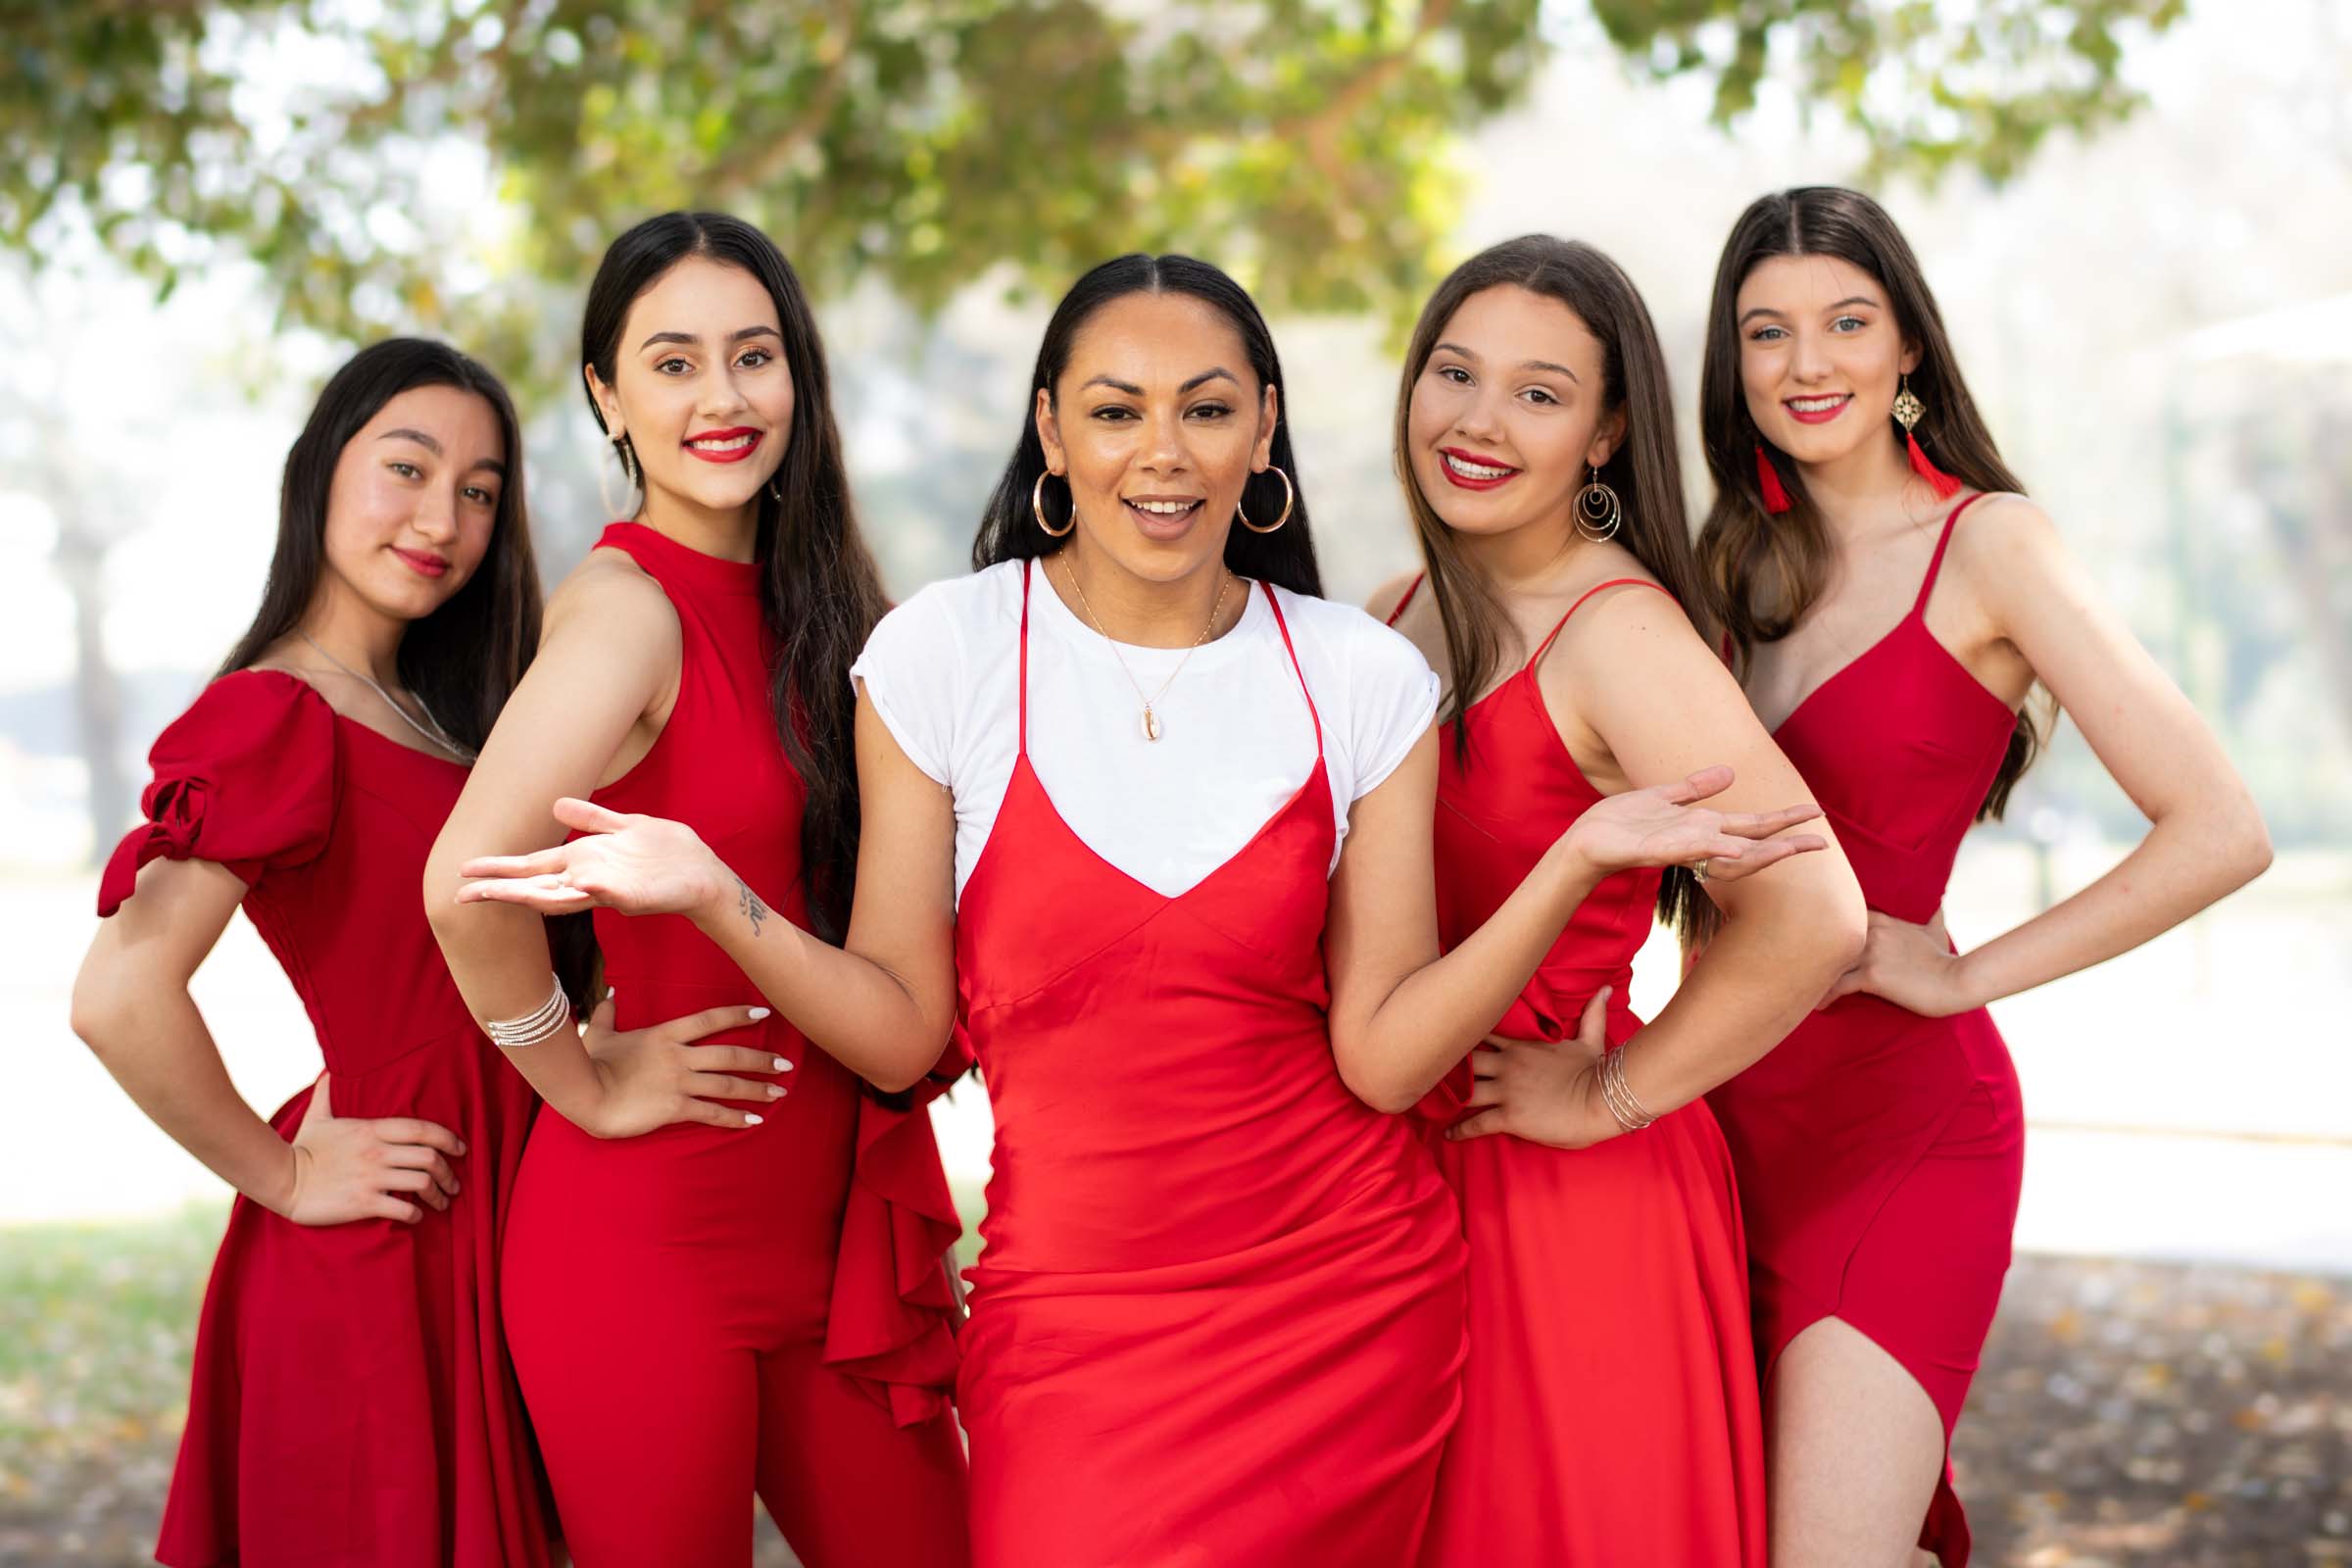
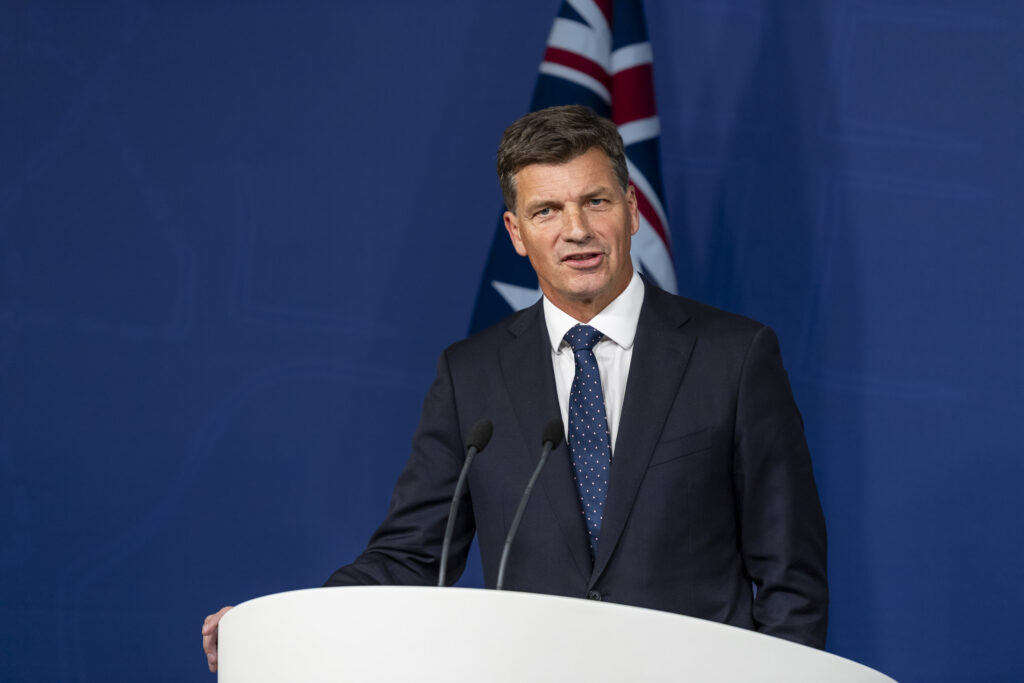
The Power of Open Body Language in Photography When it comes to capturing natural, powerful portraits, body language speaks louder
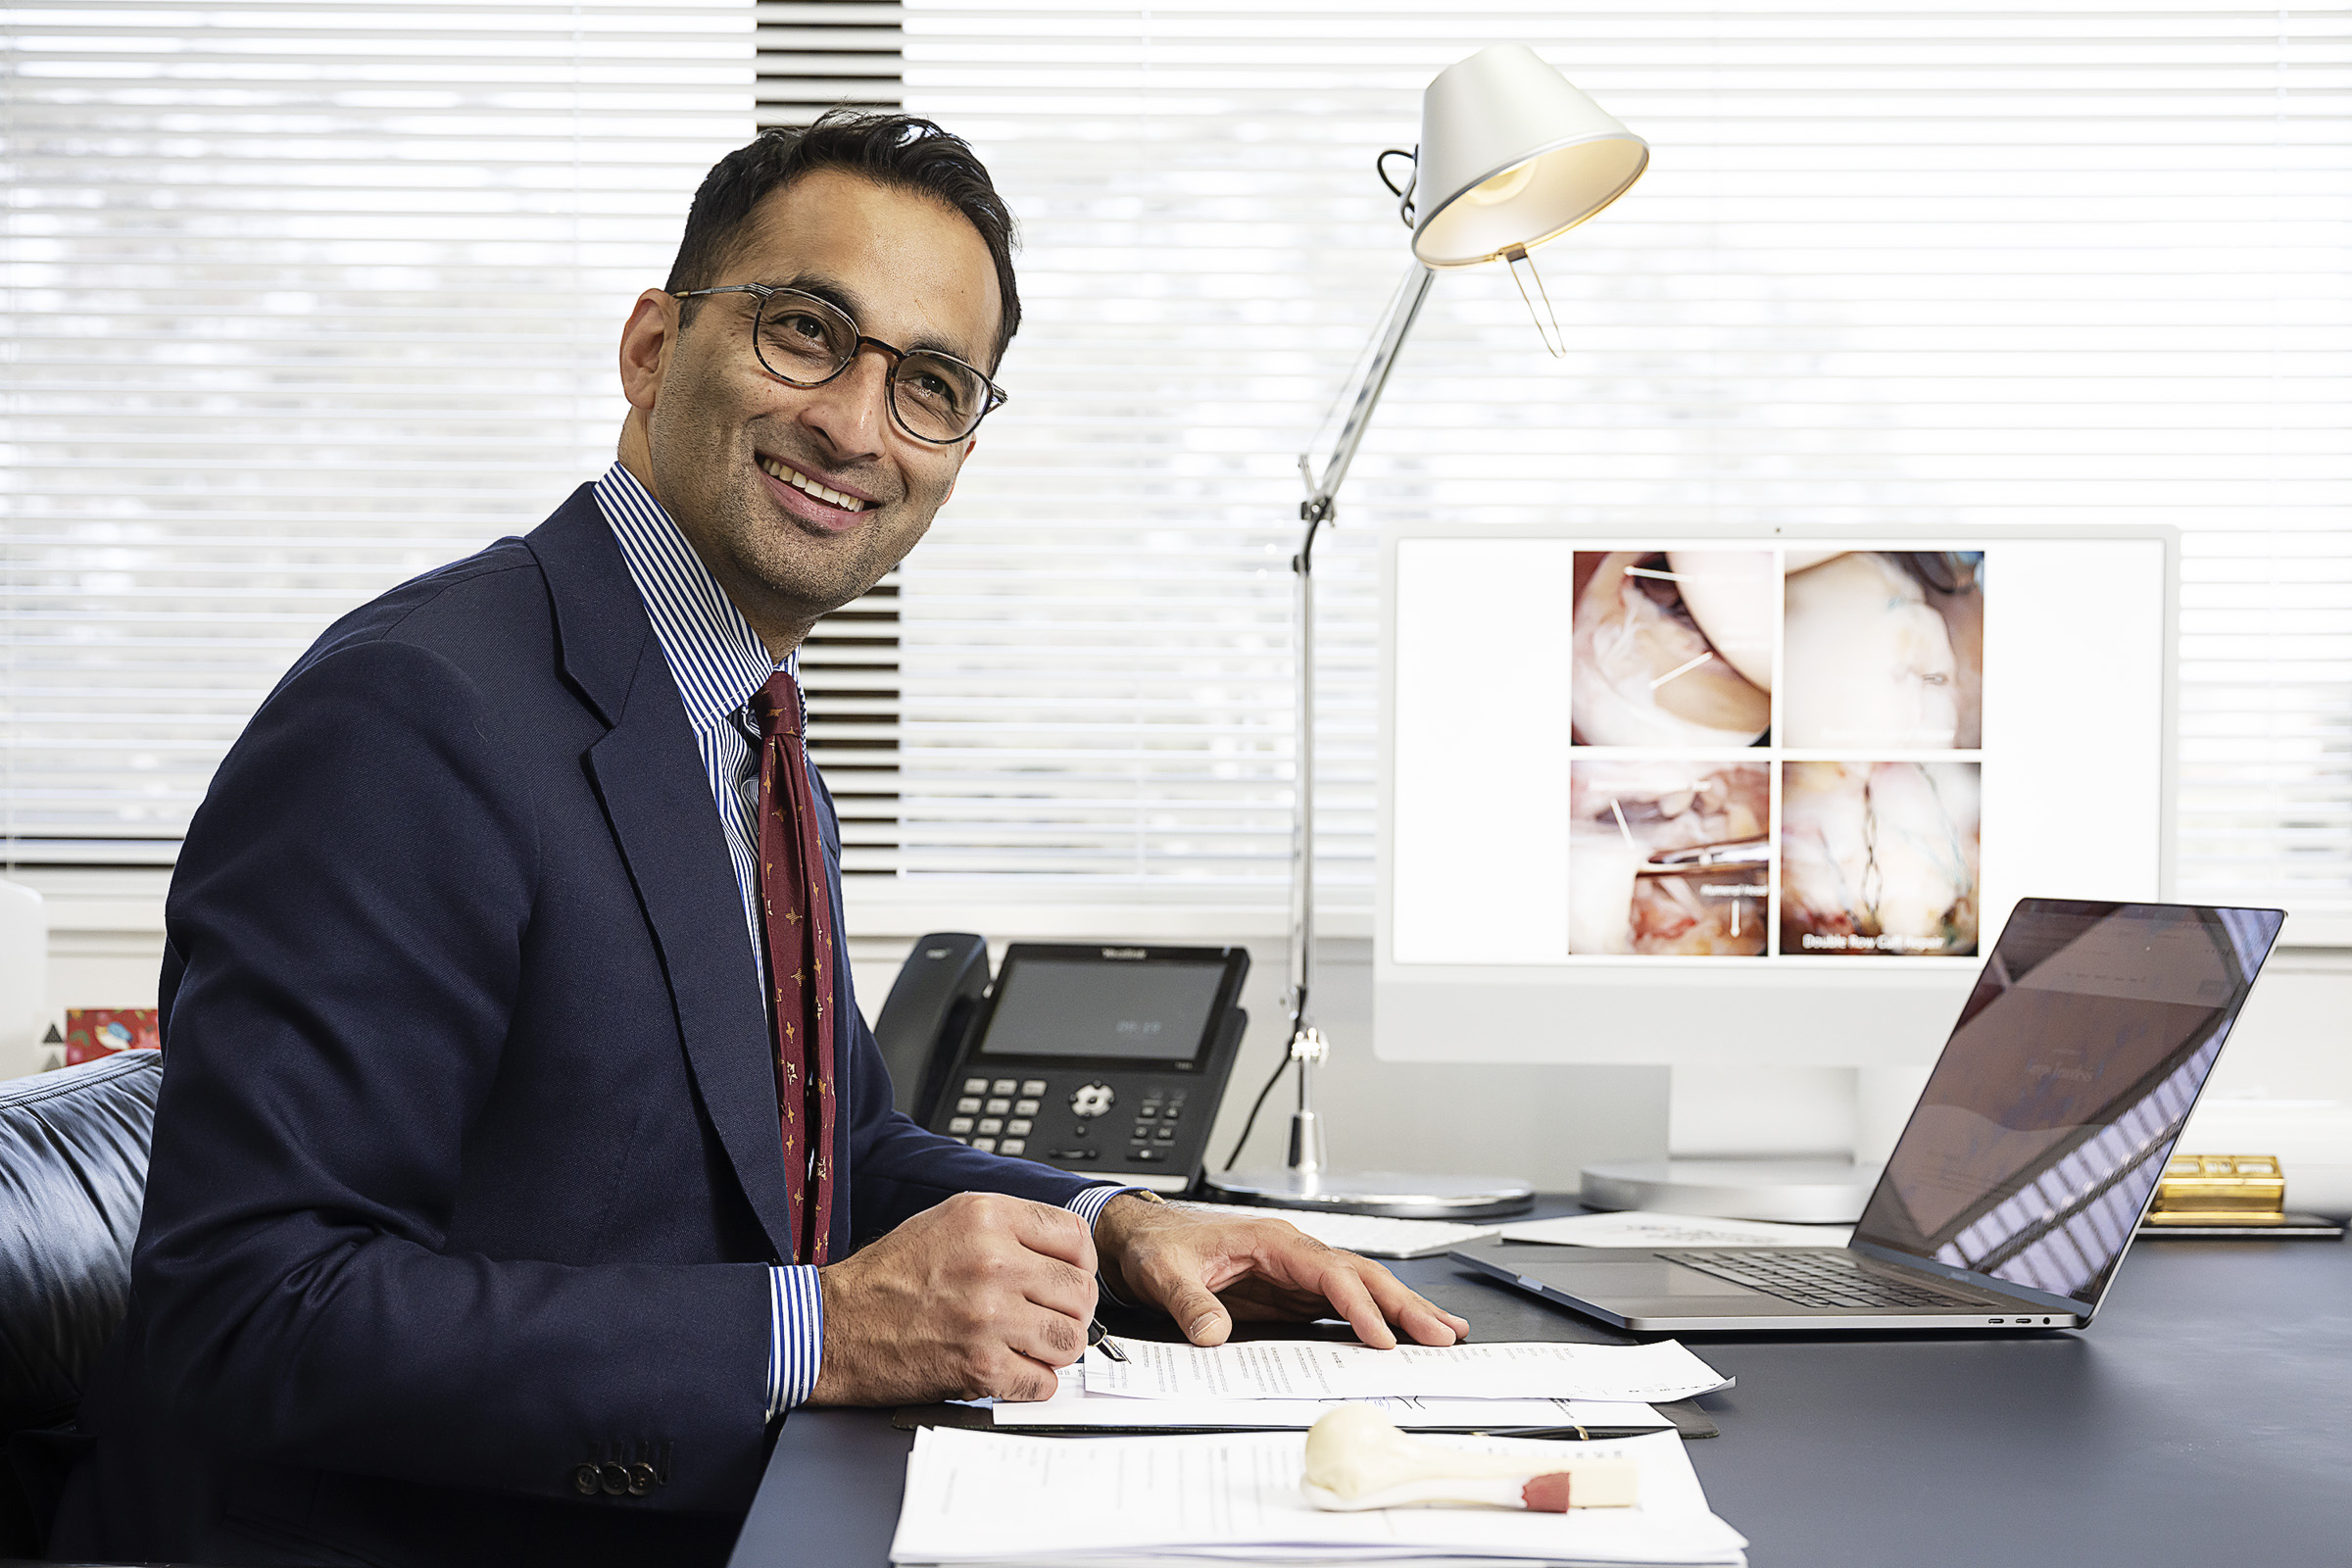
Why Posing Matters in Portrait Photography Posing isn’t about stiff limbs or forced smiles—it’s about bringing out the best in
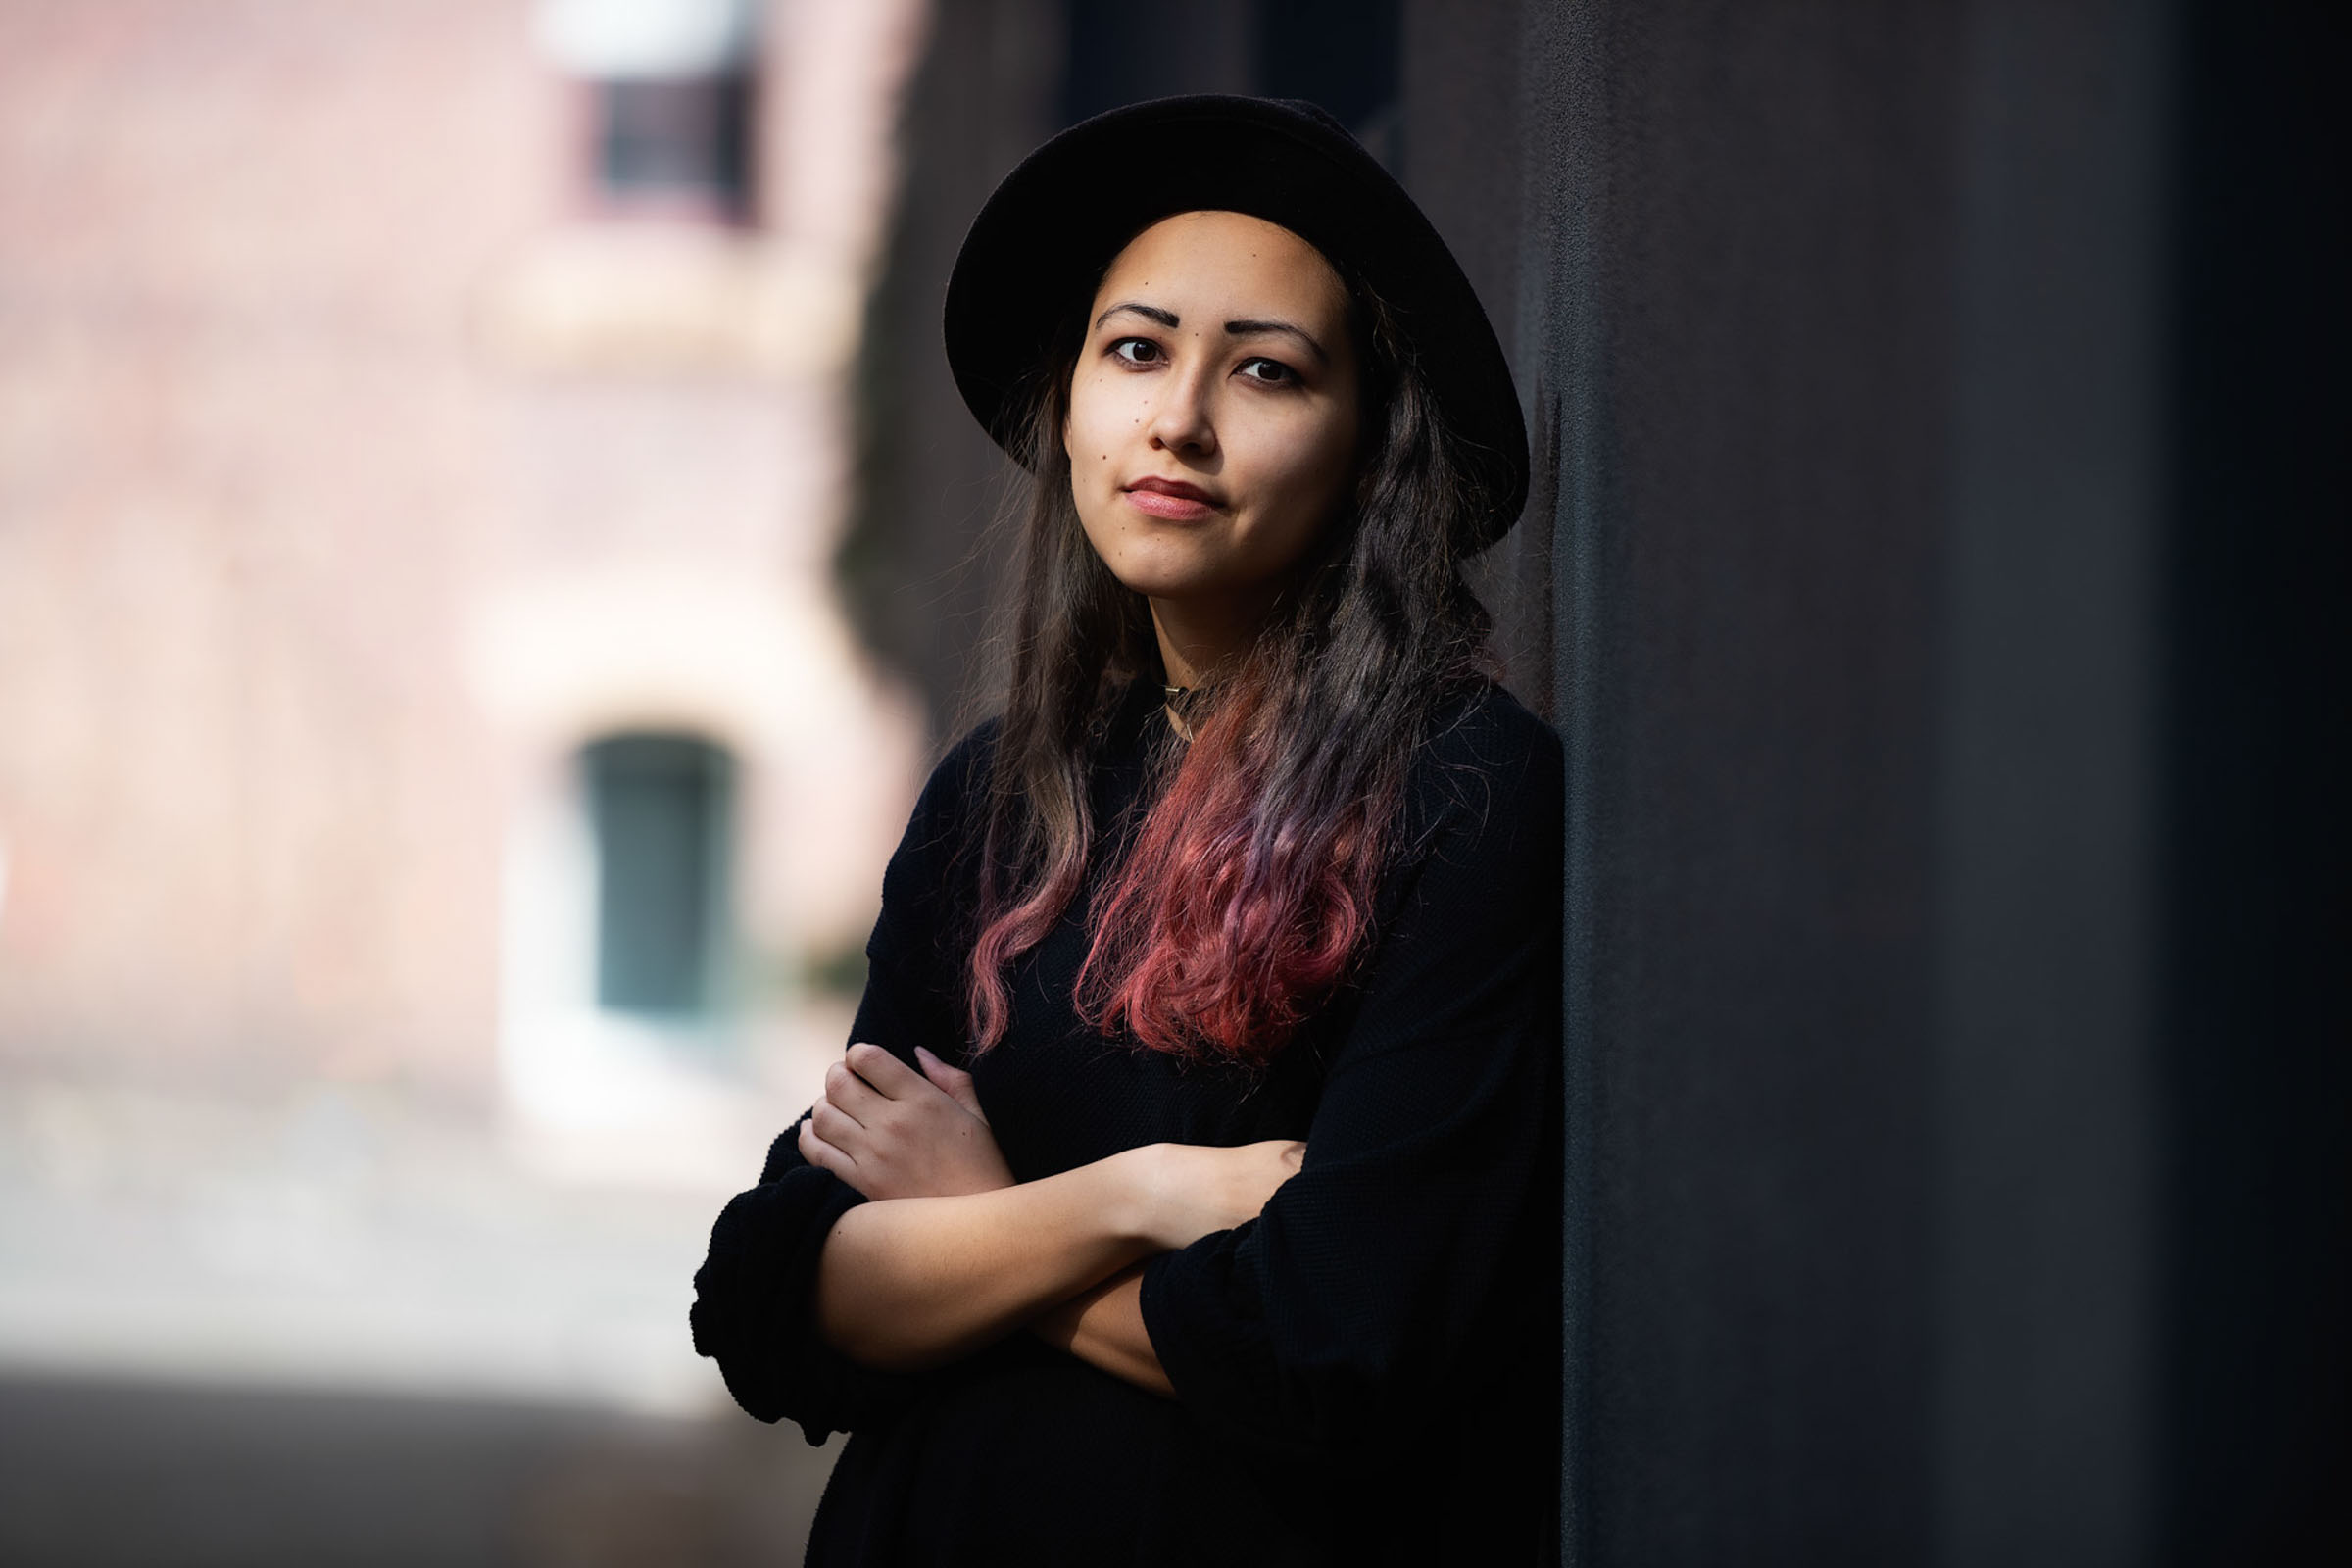
A Beginner’s Guide to Beautiful Lighting Natural light is one of the most beautiful and accessible tools in a portrait

How Do I Balance Flash with Ambient Light Balancing flash with ambient light is a key skill that separates average

A Photographer’s Guide to Creative Expansion In photography, light isn’t just an element—it’s the language we speak.And when it comes
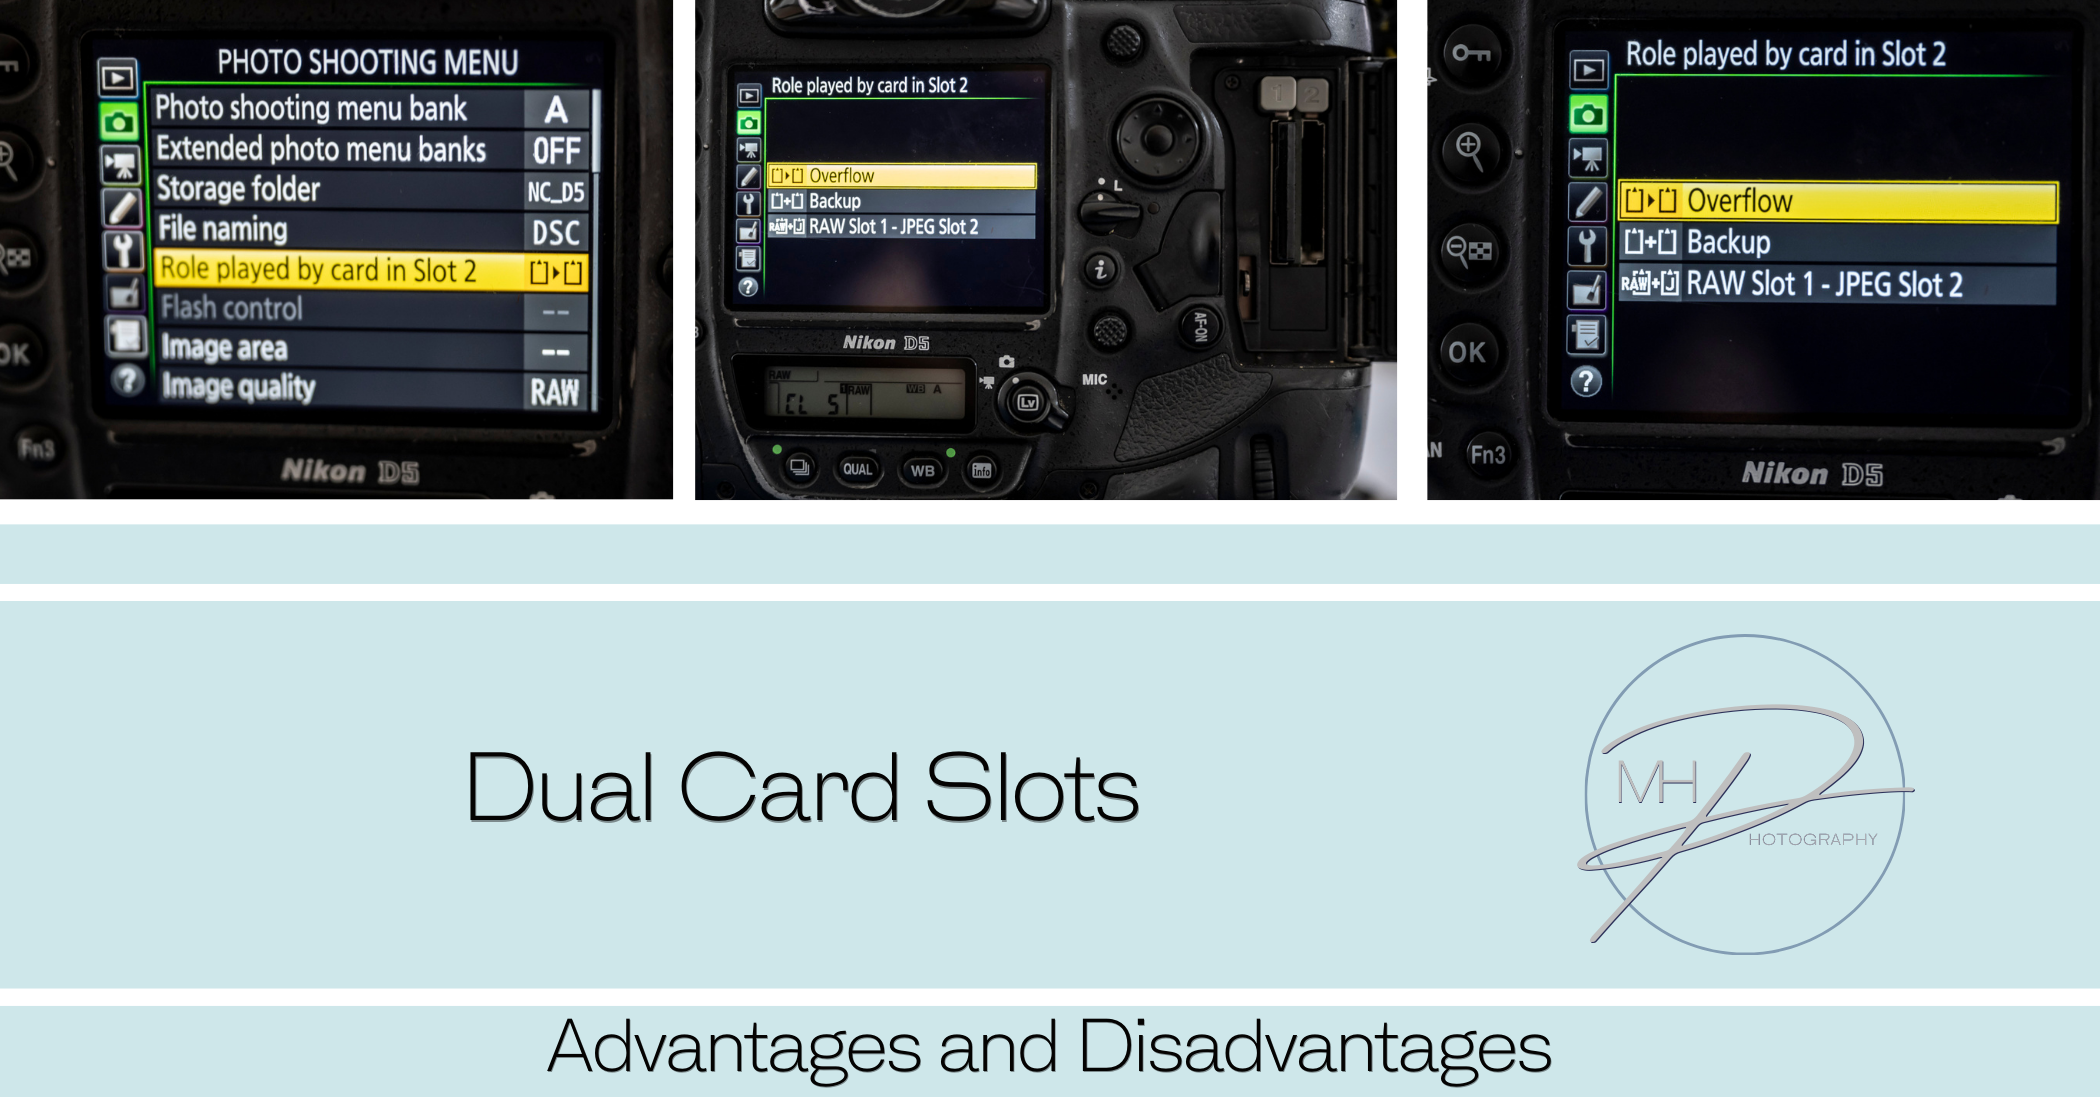
Many professional cameras offer dual card slots, allowing photographers and videographers to use two memory cards simultaneously. This feature enhances
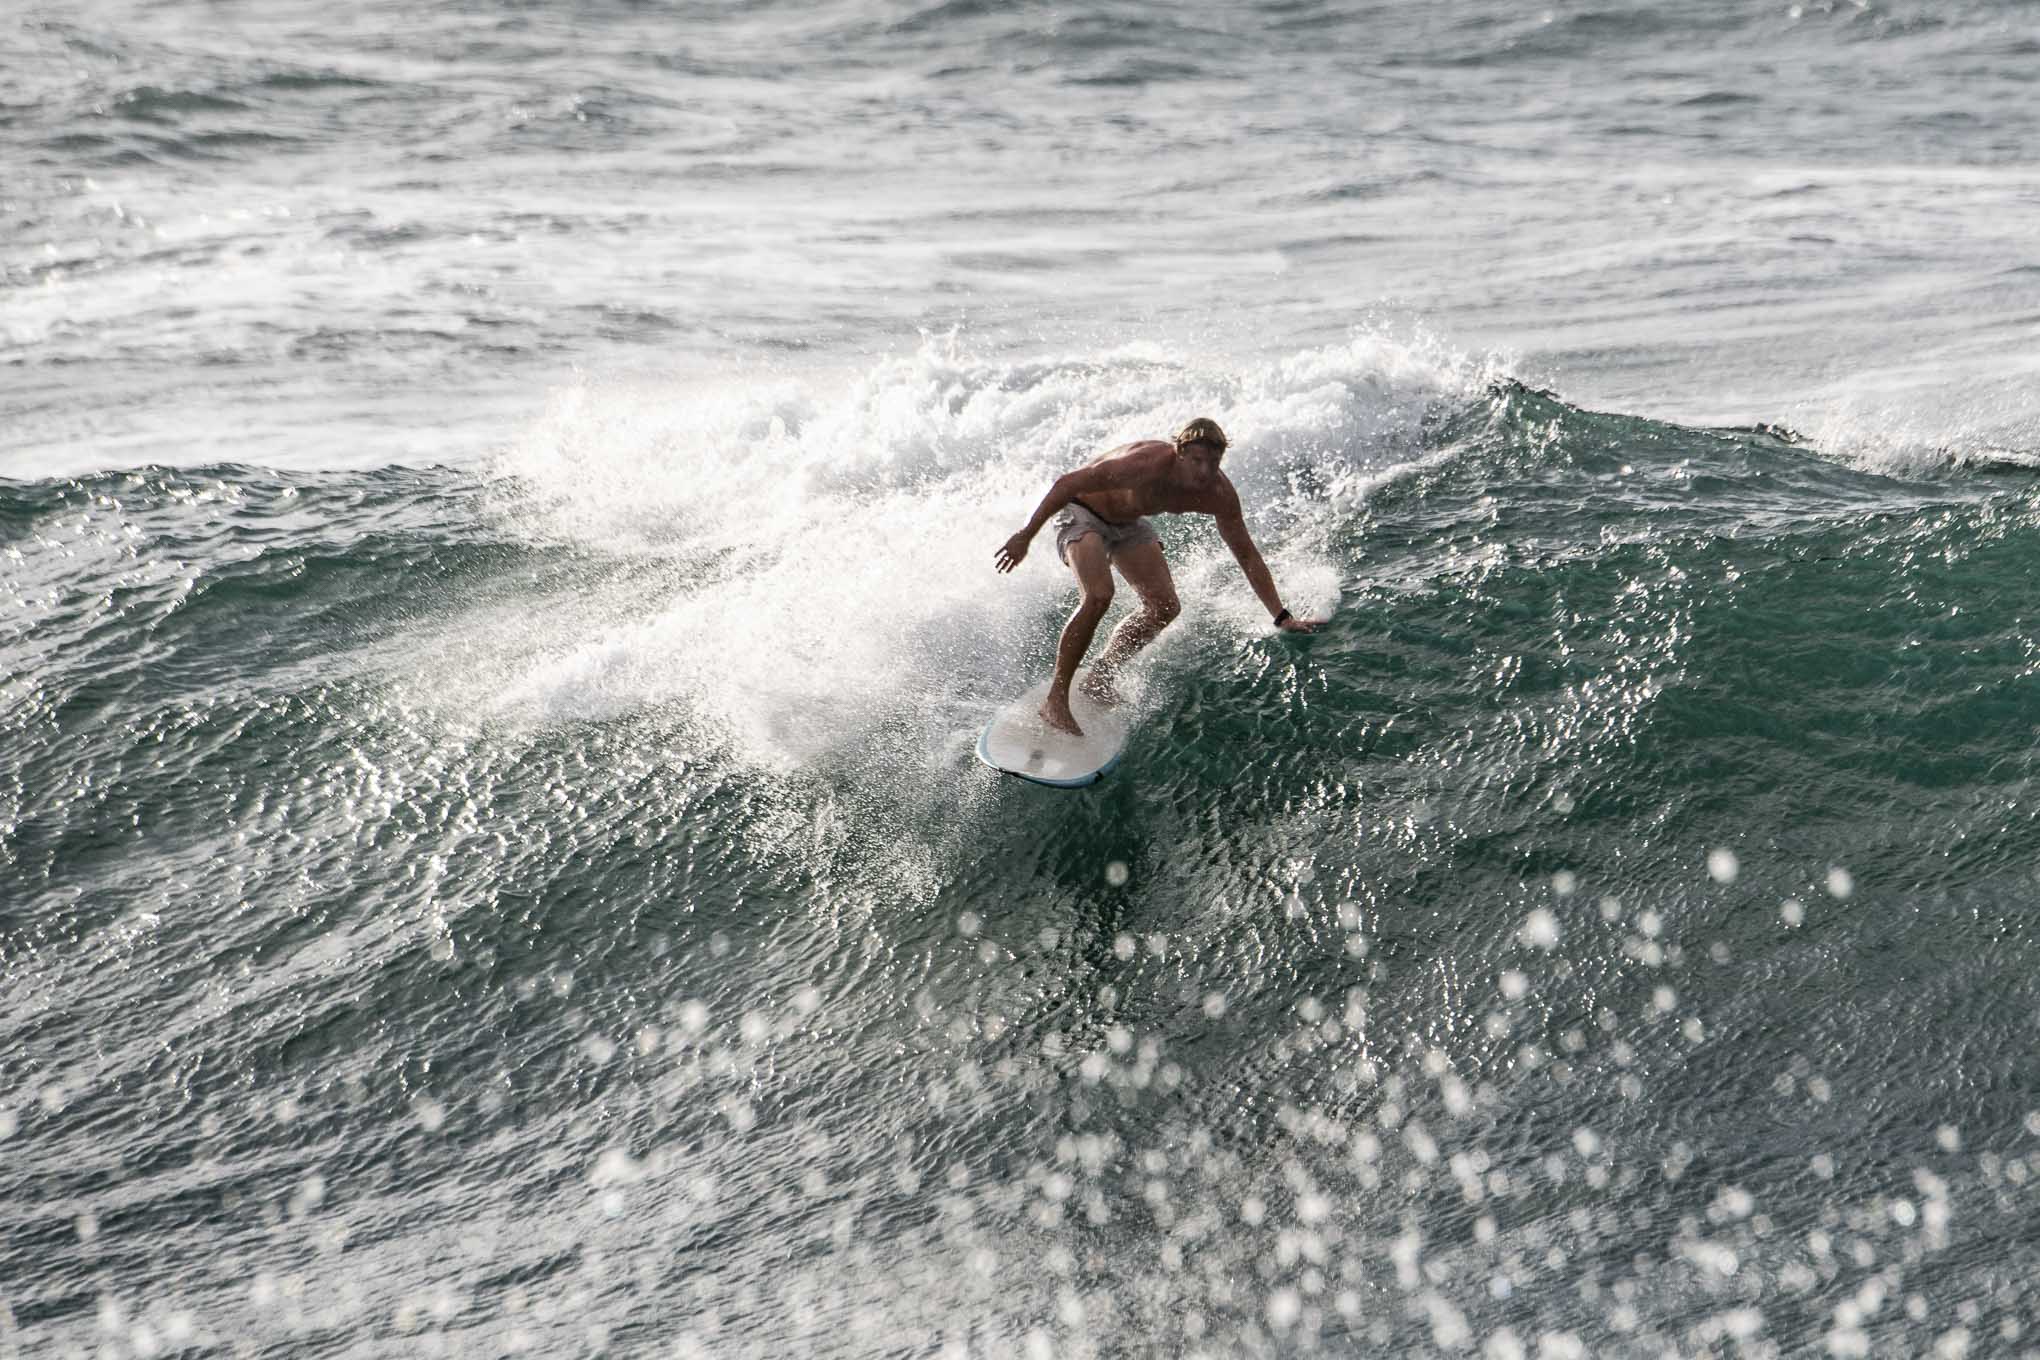
what you need to know Getting sharp images is a combination of good technique, the right settings, and proper camera
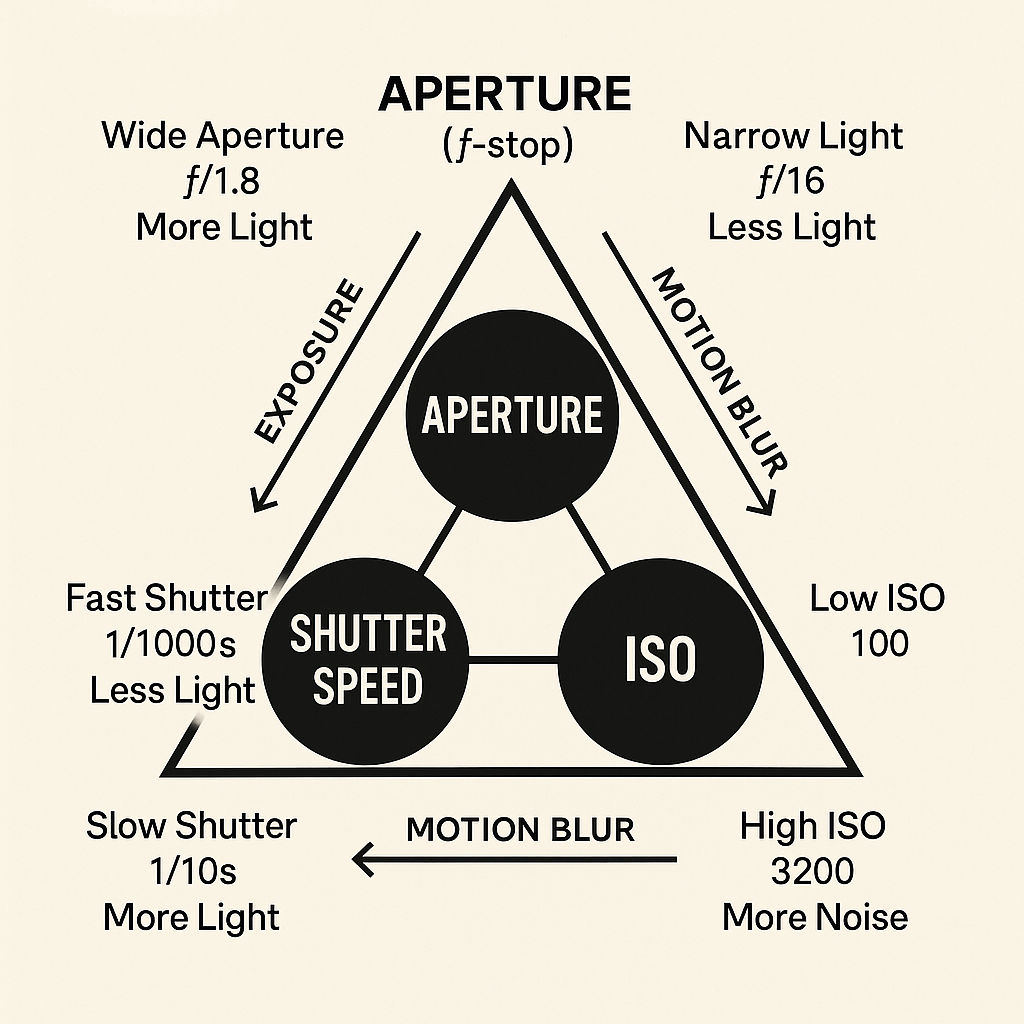
The exposure triangle The exposure triangle is a fundamental concept in photography that explains the relationship between three key elements